Behind the Object: Topo Map
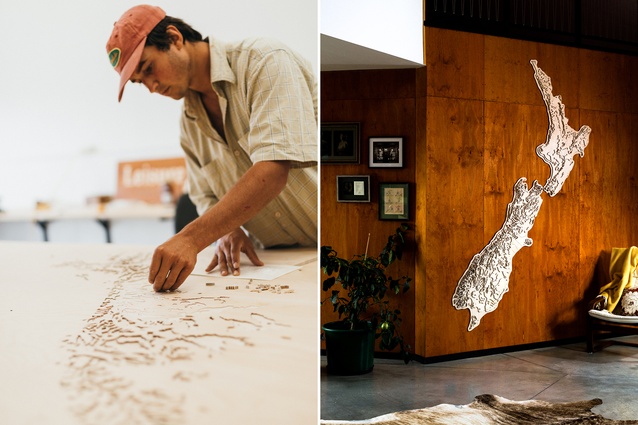
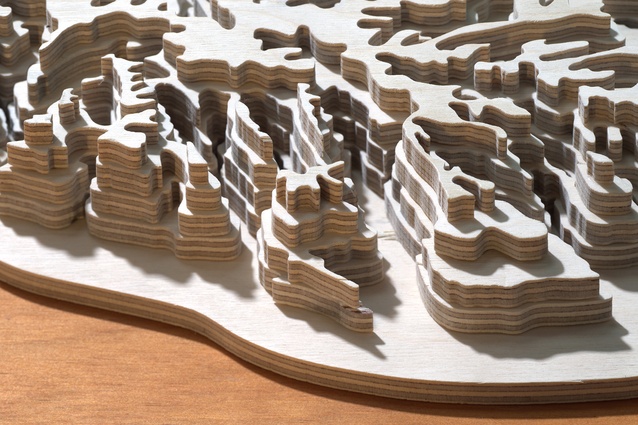
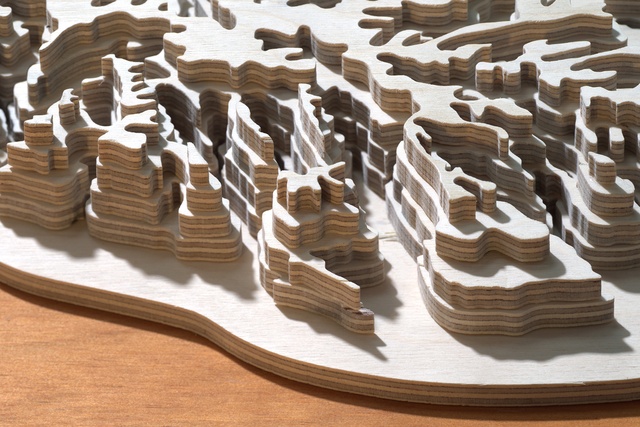
The Topo Map from Leisure Workshop is 2.6 metres tall and features seven layers of CNC-cut birch ply.
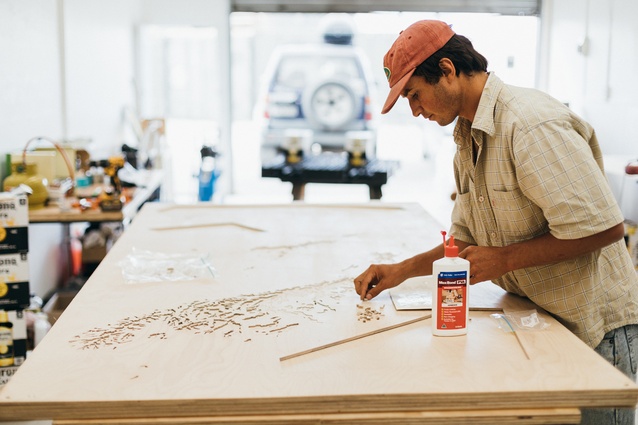
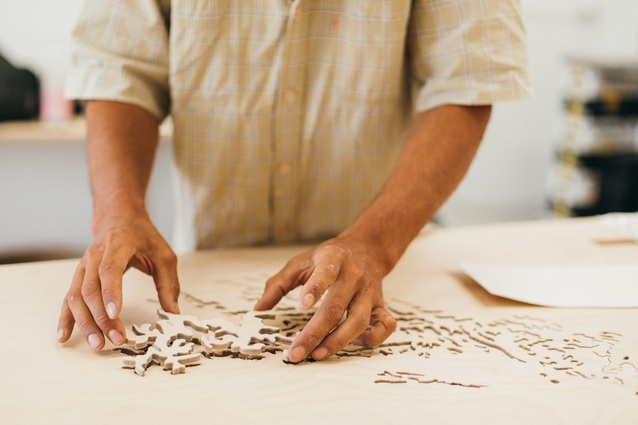
Designer Jonty McCool glued all of the pieces together by hand.
McCool discovered waterjet cutting as a way to utilise digital manufacturing tools while being able to get into tight corners.
McCool says, “If you look at all the cutting lines overlaid on top of one another, it’s comparable to what the human body’s nervous system would look like, or at least that’s how it felt.”
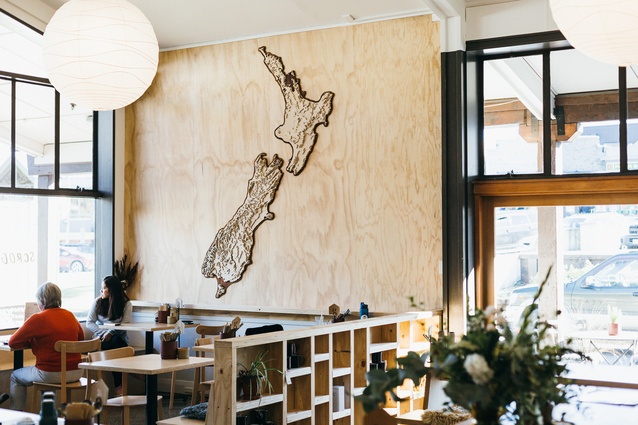
The original design for the Topo Map came about for a business that had clients across the country and wanted to show where their products came from.
“I think it made the end result that much more exciting because I really didn’t know what I had achieved until the very end,” McCool says.
Jonty McCool is the founder of Wanaka-based Leisure Workshop and creates custom lighting and artworks that draw on New Zealand’s physical forms. I was struck by the Topo Map when I first saw it – perhaps because it clocks in at 2.6m tall, but also because its seven layers of CNC-cut birch ply are assembled by hand. I caught up with McCool to learn more about how the project came about and the making of the piece.
Ashley Cusick (AC): How did the Topo Map come about? Was is commissioned for a particular project?
Jonty McCool (JM): Yes, bang on actually. The original wooden map was commissioned for a business that had clients spread widely across New Zealand, so they wanted a means to display this in their head office and the idea of a large wooden map came about. People hold value in seeing the transparency of things, like where products are sourced from and who makes them, so being able to show this businesses clients and potential buyers where the wood they’re making their house was grown from, or where the food that they eat comes from, is a pretty cool thing to do. It was done quite simply with the use of a few numbered brass pins that I had made to go into the map and portray all of this information visually.

AC: How did the idea for the design come alive? What took it from concept to physical object?
JM: I have always loved maps to look at as art or wall decoration, whether it be an unfolded DOC map held with a bit of blu-tac or a LINZ printout framed on a wall, they create discussion and inspire me with places to go, huts to stay in or coastlines to explore.
When I heard of this business wanting a display piece, I had actually been toying with making wooden maps for a wee while at this point so I got in touch and booked it in. It was great having a locked-in deadline to work with as it meant that I had to get started on the very long process of what was effectively drawing a few hundred meters worth of highly accurate, squiggly lines fitted within the constraints of New Zealand’s coastline. If you look at all the cutting lines overlaid on top of one another, it’s comparable to what the human body’s nervous system would look like, or at least that’s how it felt.
AC: Did the idea for the design come to inform how it would be made? Did you think about the process of making the object when conceptualising the original design?
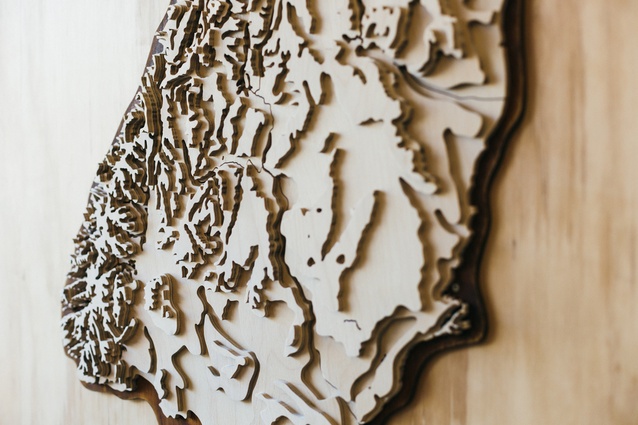
JM: As much as I love working with wood in a classical sense, I didn’t think a jig saw was up for the task, and with my background in industrial design/product design, I knew it was always going to be CNC’d. From what I have done in the past, I thought I’d use either a laser cutter or CNC router. The issue I was faced with these two options, though, was that laser cutting would leave big ugly charred edges, which I wasn’t particularly keen on, and CNC routers have their limitations on the radii they can achieve. If you look at the close-up image of Fiordland, I had some pretty tight spots to get into and a 4mm router tool bit would plow right on through.
It wasn’t until I went into Wai Innovation in Wanaka that I found the joys of waterjet cutting and what you can do with it. It took a bit, but as soon as I got over the fact that I was effectively dousing my perfectly flat, untreated A-grade plywood in water, I found that this was the best way forward. Non-charred edges, high level of detail, and when taking the necessary precautions, not even a slight warp or piece of mould to be seen.
AC: Tell us a bit more about the actual making and manufacturing of the piece. I’ve heard you glued all the pieces together by hand.
JM: It really was quite a laborious process when designing the files to use to cut out the wood; it’s not like any classic woodworking projects, which usually use larger, more square materials and you can see them in their real form to see whether you like it or not. For these maps I literally had no idea of what it really will look like until all the pieces had been cut, sanded and glued. I think it made the end result that much more exciting because I really didn’t know what I had achieved until the very end.
See more from the Behind the Object series here…